While working with python, we usually face the problem of setting up the virtual environment. In this blog I have covered the steps of creating virtual environment in python.
Anaconda :
Anaconda is an open source software that contains Jupyter, spyder idle etc that are used for large data processing, data analytics, heavy scientific computing. Anaconda works for R and Python programming language. Package versions are managed by the package management system conda.
Installing Anaconda:
The first step is the installation of Anaconda. Go to www.anaconda.com website and install the latest version of Anaconda. Make sure that you download the latest “Python Version” as well.
Why do we need a virtual environment ?
Python basically requires a different version for different applications. The developed applications are required to run on a specific version of language. It is because the certain kind of dependency is required for certain applications.
Like many other languages Python requires a different version for different kind of applications. The application needs to run on a specific version of the language because it requires a certain dependency that is present in older versions but changes in newer versions. Virtual environments makes it easy to ideally separate different applications and avoid problems with different dependencies. By using virtual environment we can switch between both the applications easily and get them running.
Let’s go through the steps of creating a virtual environment one by one using conda interface:
Step 1: Firstly check if conda is installed in your path of the system or not.
- For this open up your anaconda command prompt.
- Type conda -V and press enter.
- If the conda is successfully installed in your system, you will see a similar output as below.

Command :
conda -V
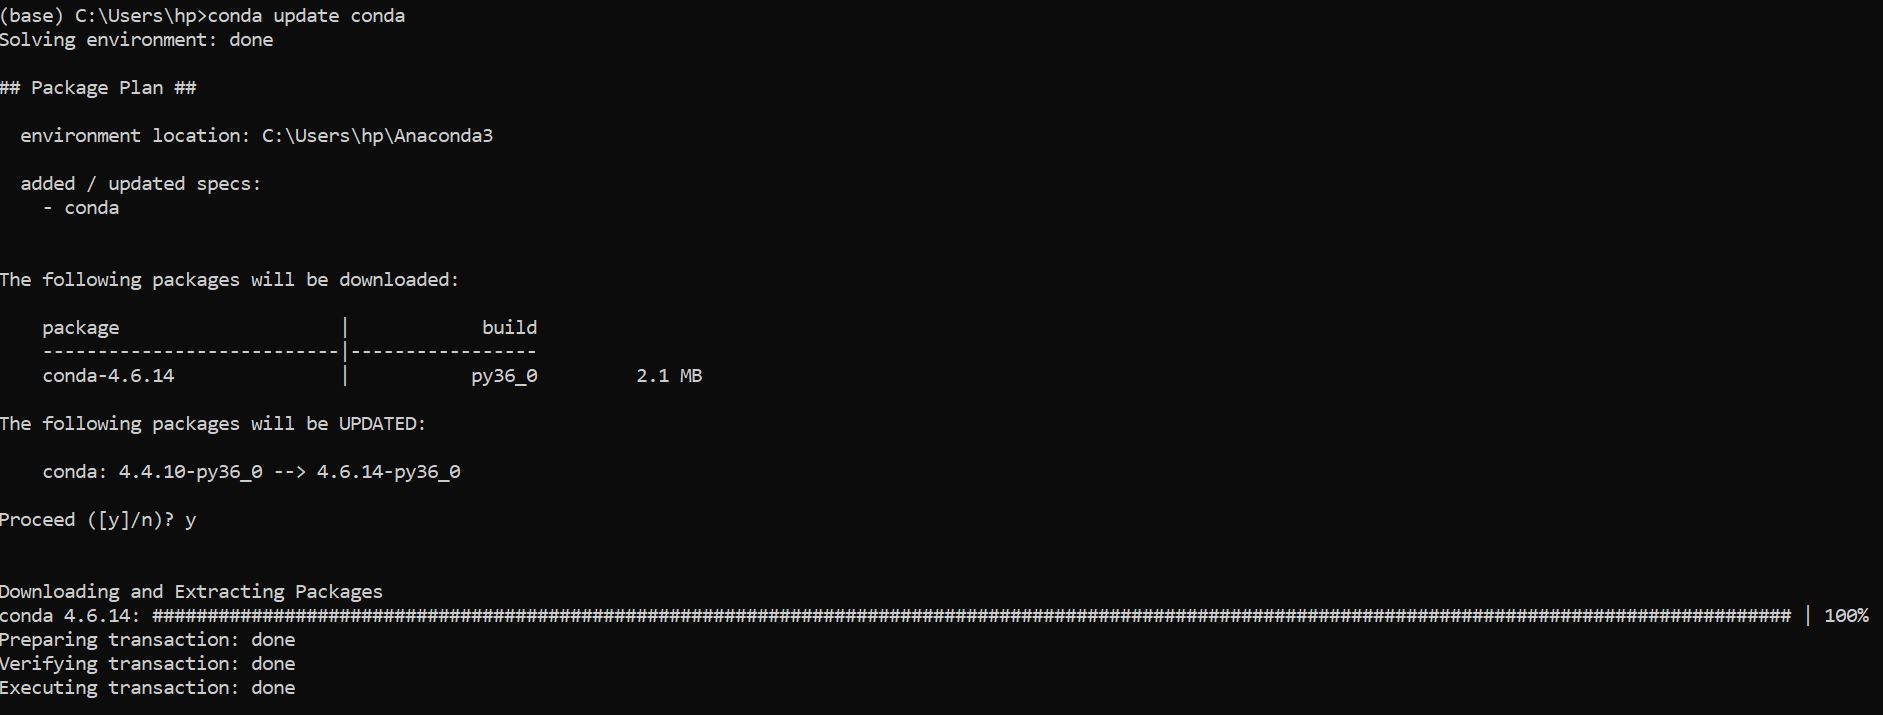
Step 2 : Updating the conda environment.
Enter the following command to update the anaconda prompt.
Command:
conda update conda
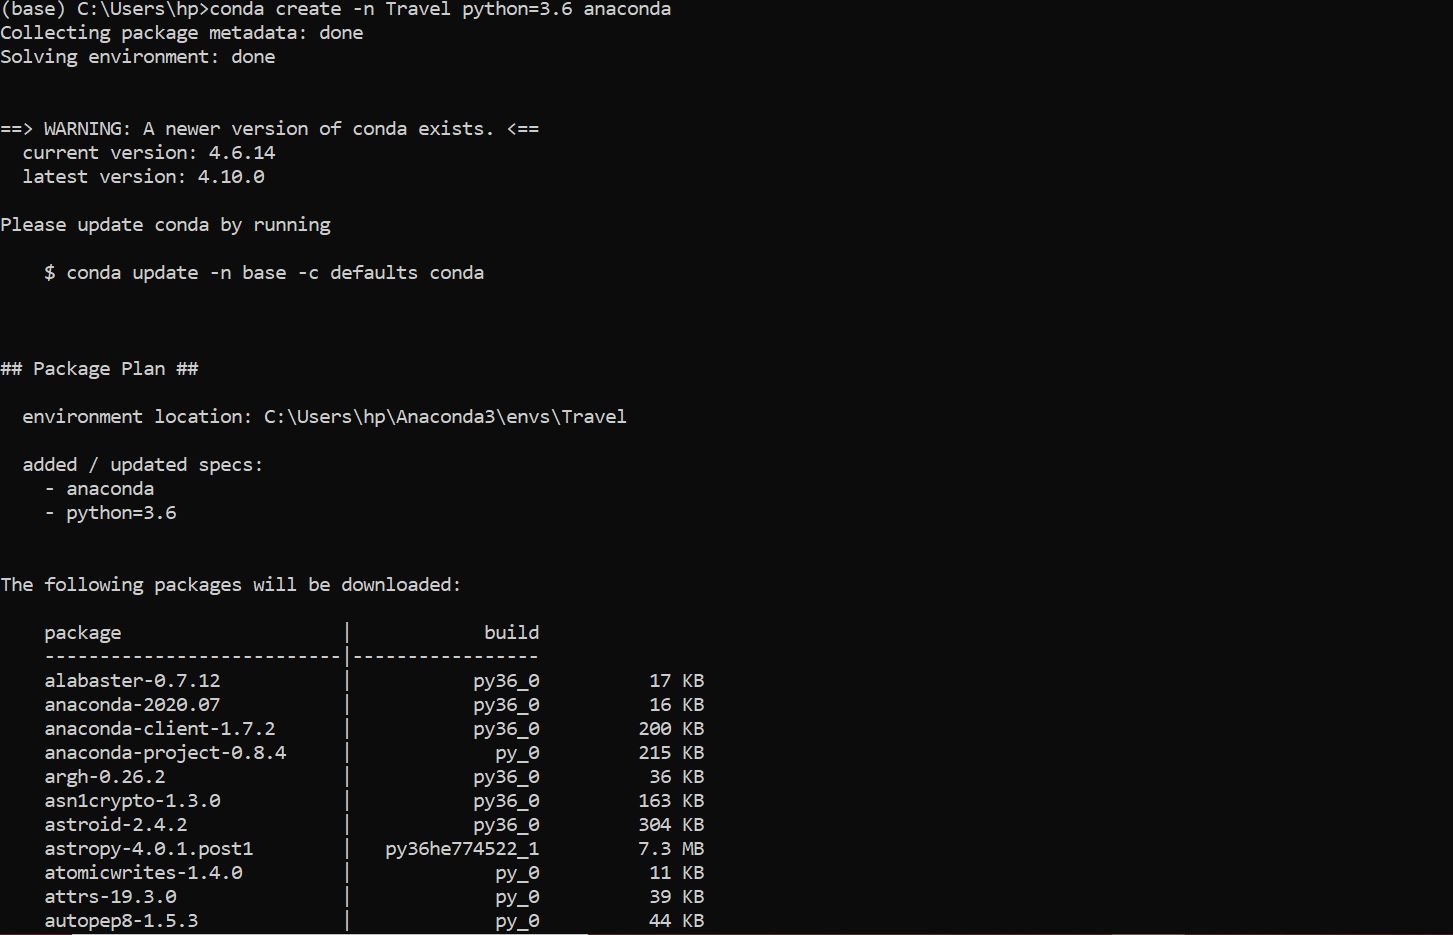
Step 3: Setting up of the virtual environment with required packages.
- Replace envname with the name you want to give to your virtual environment.
- Replace x.x with the python version you want to use.
Note: Type conda search “^python$” to see the list of available python versions.
Command:
conda create -n envname python=x.x anaconda
Let’s create a virtual environment named Travel with Python3.6 and anaconda packages.
Step 4: Activating the virtual environment.
- Type in command conda info -e, to see the list of all the available environments.
- In order to activate the virtual environment, enter the command given below and replace your environment name with your envname.
Command:
conda activate envname

When conda environment is activated it modifies the PATH and shell variables points specifically to the isolated Python set-up you created.
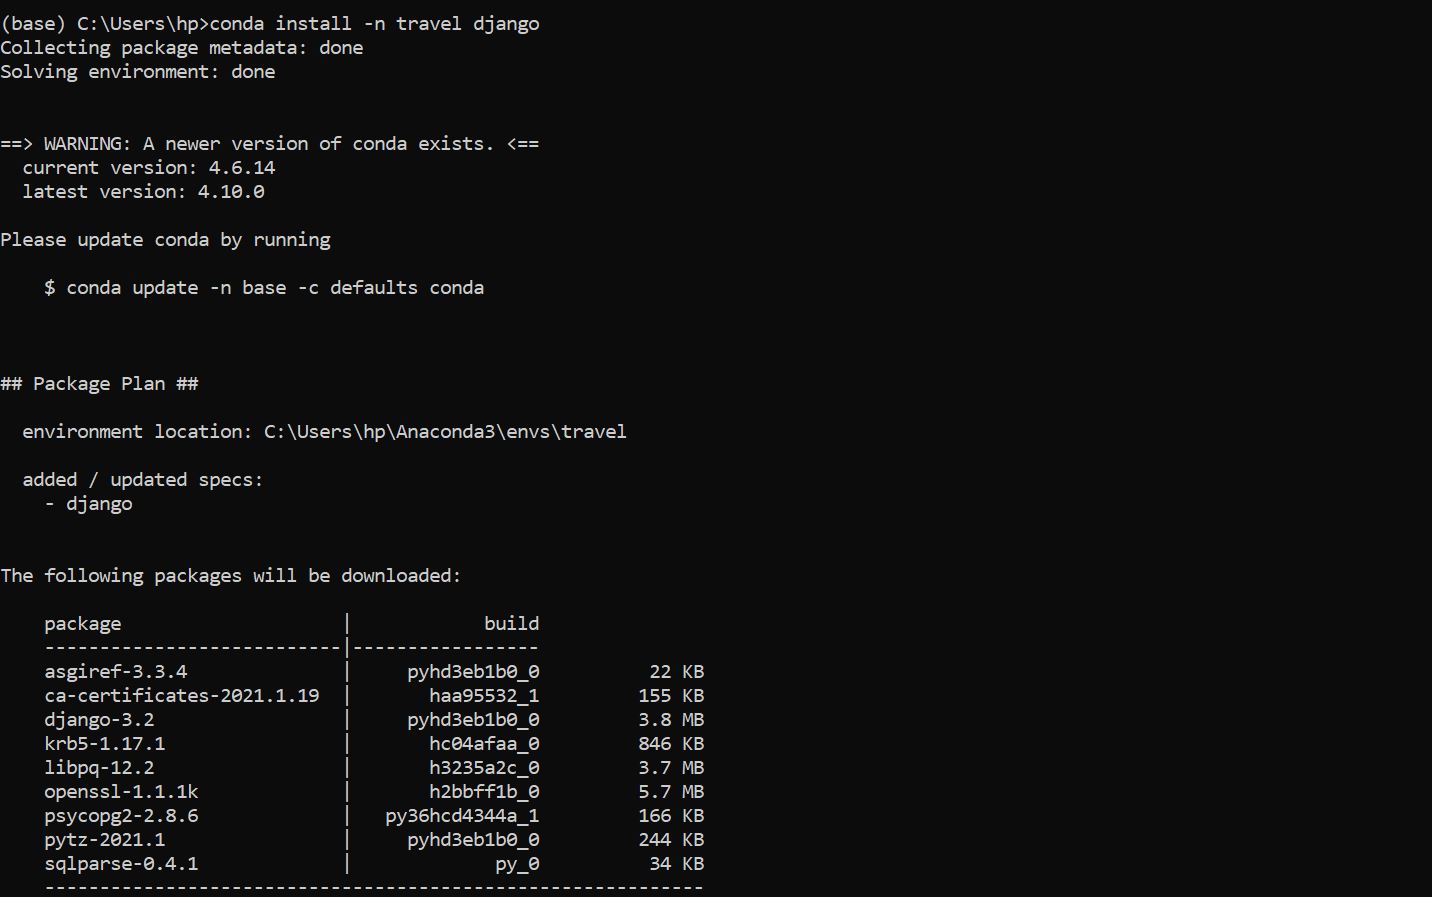
Step 5: Installation of required packages in the virtual environment.
Just type given below command to install the additional packages to the environment and replace your envname with the name of your environment.
Command:
conda install -n envname package
Step 6: Deactivating the virtual environment.
Type the following command in order to come out of the particular environment. The settings of the environment will remain as it is.
Command:
conda deactivate

Step 7: Deletion of virtual environment.
If you no longer require a virtual environment. Delete it using the following command and replace your environment name with envname.
Command:
conda env remove -n envname

That’s all for this post.
May I post part of this on my personal blog if I place a reference to this website?