Setting up a Snowpark environment on your local machine allows you to leverage the power of Snowflake for data processing and analytics. Whether you’re a data engineer, data scientist, or data analyst, having a local Snowpark environment can significantly enhance your productivity and facilitate experimentation. In this post, we’ll walk you through the steps to set up a Snowpark environment on your local machine.
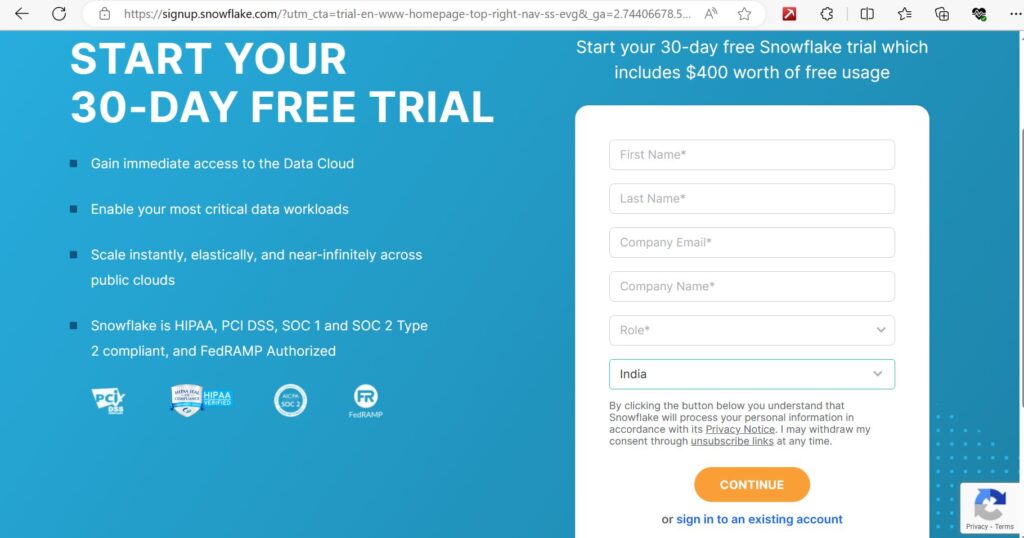
Step 1) Create your free/paid account on snowflake by filling the required details like first name, last name, company email, company name, role and country. (in place of company email you can give your personal email too)
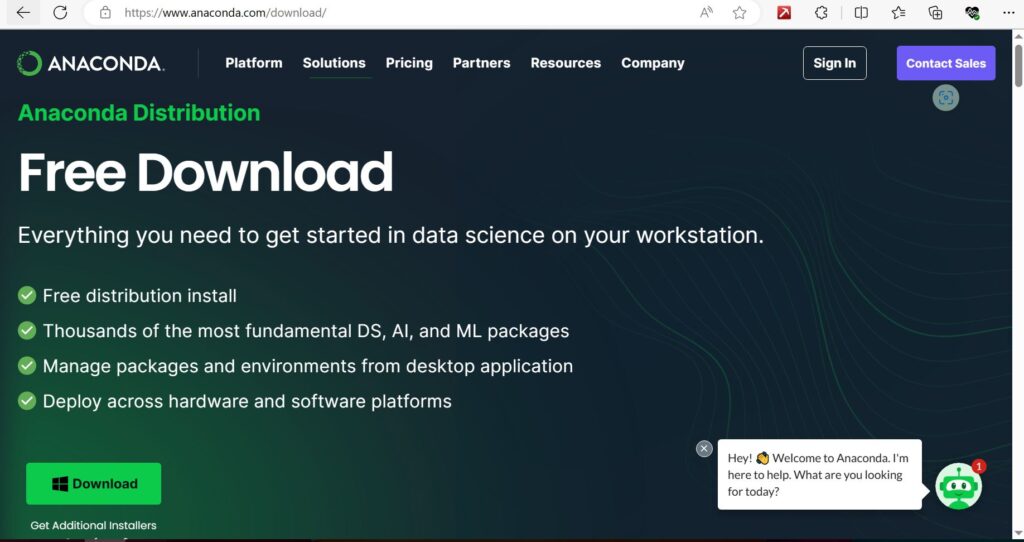
Step 2) Download Anaconda Distribution from Anaconda Website.
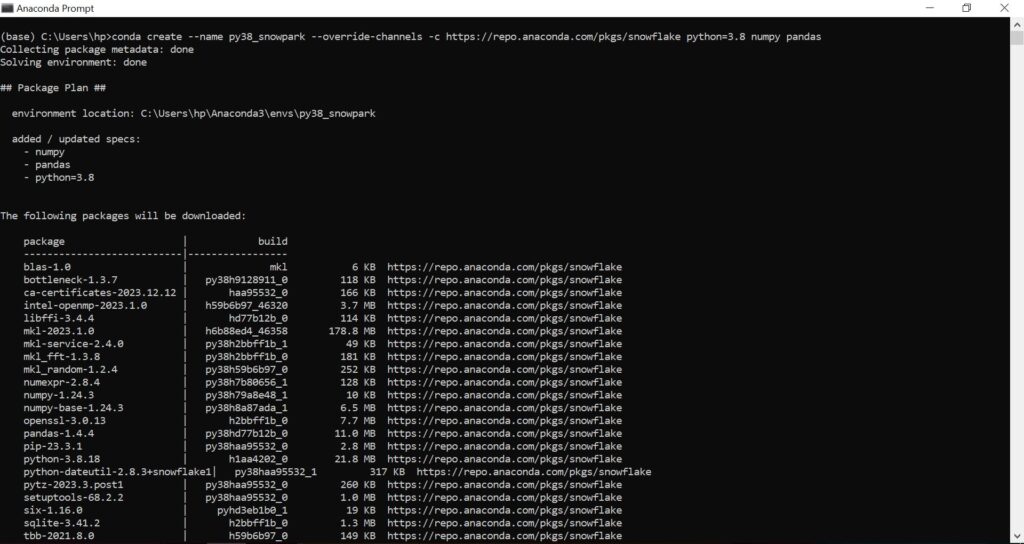
Step 3) Open anaconda terminal and run the below given commands:
-
conda create --name py38_snowpark --override-channels -c https://repo.anaconda.com/pkgs/snowflake python=3.8 numpy pandas
-
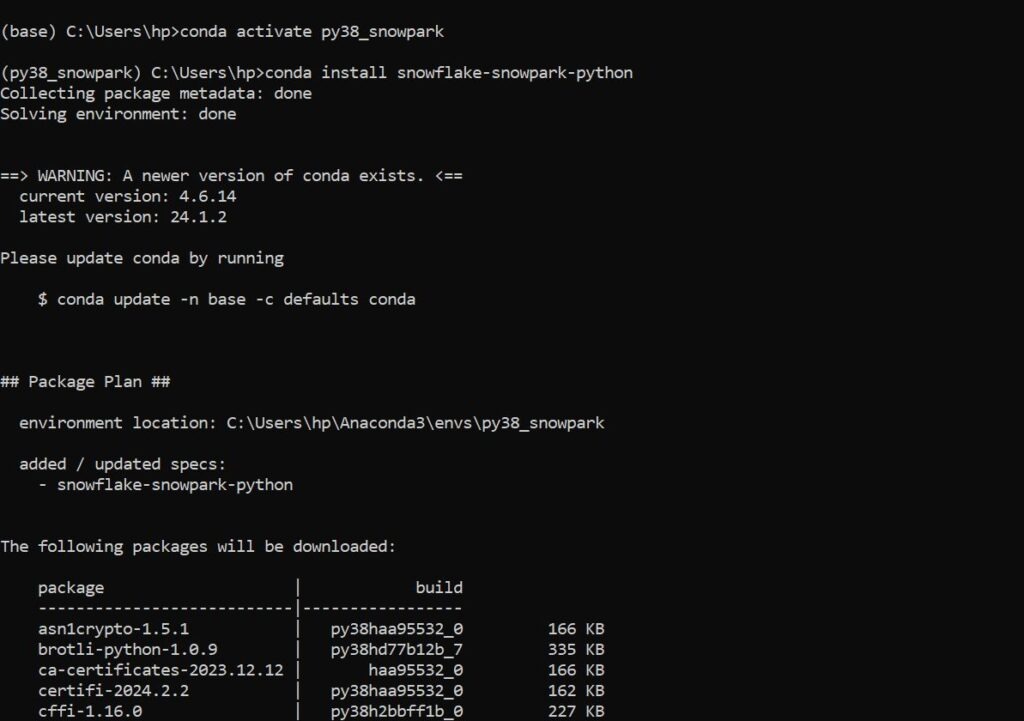
conda activate py38_snowpark
-
conda install snowflake-snowpark-python
-
Open python terminal by typing python and then hit enter.

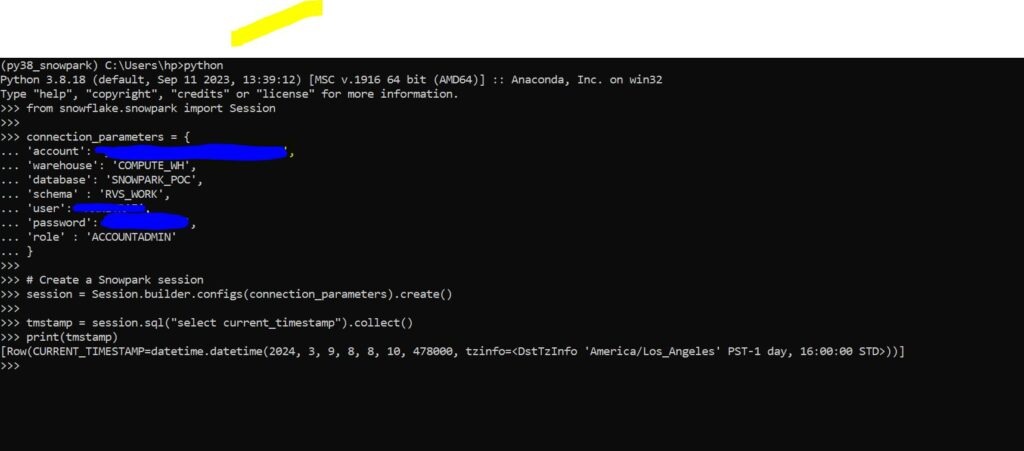
Step 4) Run below code to test the connectivity from snowflake:
from snowflake.snowpark import Session

connection_parameters = {
'account': '###############',
'warehouse': 'COMPUTE_WH',
'database': '#######',
'schema' : '########',
'user': '##############',
'password': '######',
'role' : 'ACCOUNTADMIN'
}

# Create a Snowpark session
session = Session.builder.configs(connection_parameters).create()

tmstamp = session.sql("select current_timestamp").collect()
print(tmstamp)
Note:
1) Ensure you have Python 3.8 or a later version installed.
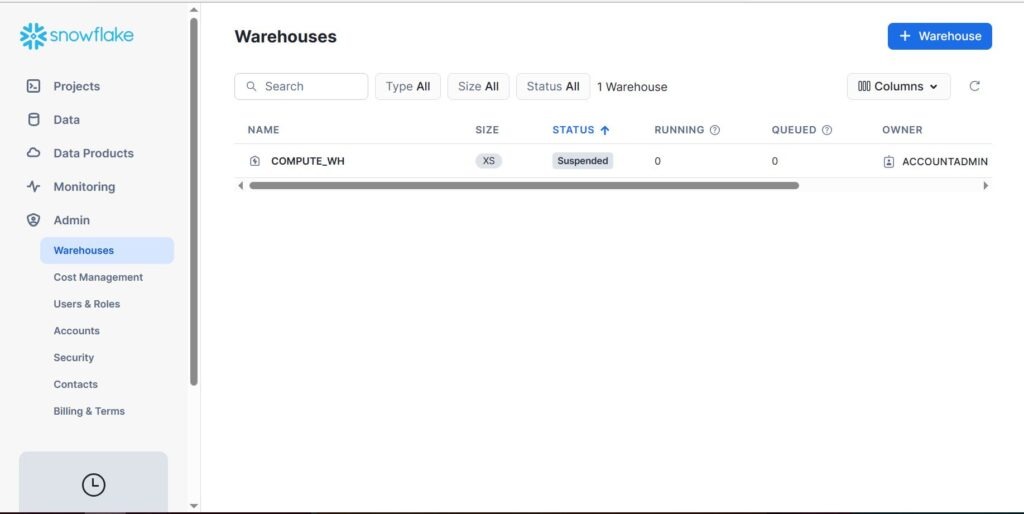
2) On snowflake website, you will get connection parameters required information from the admin section.
By following the steps mentioned in this post, you can quickly get started with Snowpark and begin building data applications with ease. So, roll up your sleeves and start exploring the capabilities of Snowpark in your local environment!